5 Steps to Organizing Your Kitchen Pantry
Article + Images provided by Jennifer Satterfield, Growing Up Texas
Keeping your pantry organized is key to helping you stay on track with your health and wellness, and it will cut down on food waste. Knowing what ingredients you have on hand, at any given time, will help you to prepare meals quickly and easily without the hassle of searching for ingredients or hunting for the expiration dates. No matter the size of your pantry, you will want to add it to the Spring cleaning list and apply these five easy organizing and styling steps to freshen up the space.
Organizing Tip: Purchase storage bins, risers, and rotating trays in clear or white finishes to help keep the overall aesthetic clean and fresh.
Step One: The BIG Cleanout
Supply List: Trash bags and a donation box
Start the pantry makeover by removing everything out of your pantry. As you remove each item, check the expiration date. Use your trash bag to easily toss out any expired food and a separate donation box if you have food that you are not planning to eat and is not expired.
Step Two: Sort and Categorize Food
Once you have eliminated expired food and any items you wish to donate, shift your focus to the food you want to keep that you have placed on your kitchen countertops. Start to organize the food by categories, such as: baking goods, canned goods, pasta and rice, condiments, and sweets. This process will help you when you are ready to restock your pantry.
Step Three: The Final Clean
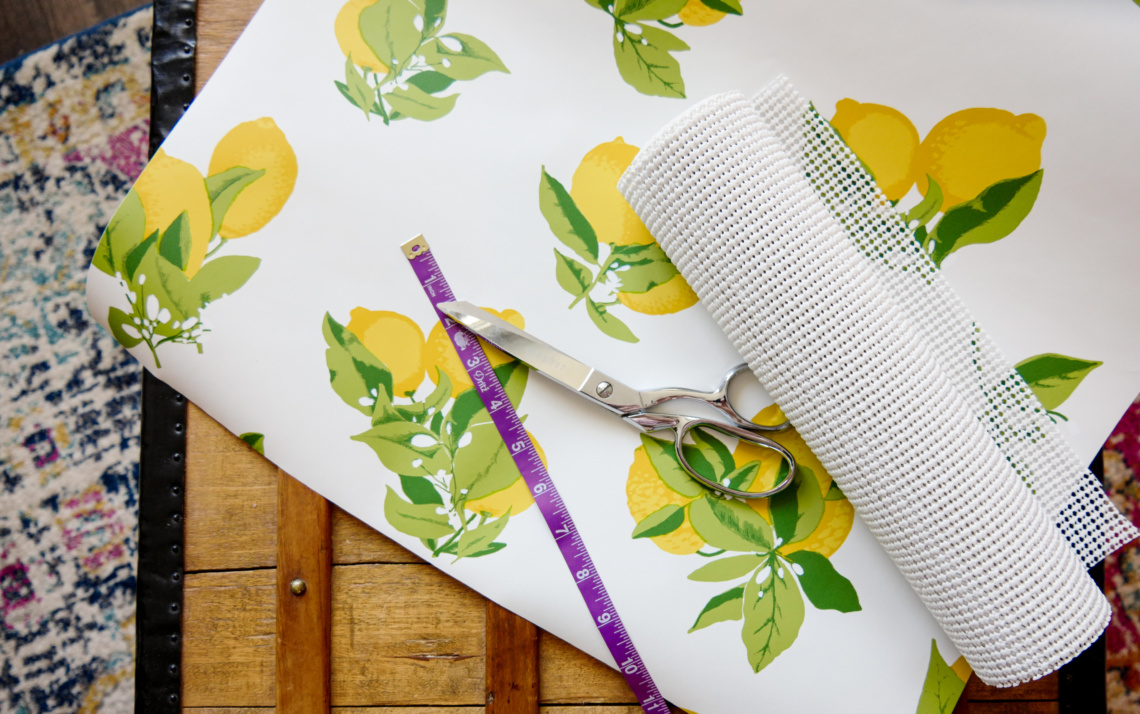
Supply list: Shelf liners and scissors
Remove old and stained shelf liners and gently wipe down each shelf surface with a paper towel or cleaning cloth. After the shelves are wiped down and dry, it is time to install fresh shelf liners, which will help keep your pantry free from stains and help reduce moisture.
Step Four: Add Color, Patterns, and Texture
Supply List: peel and stick wallpaper
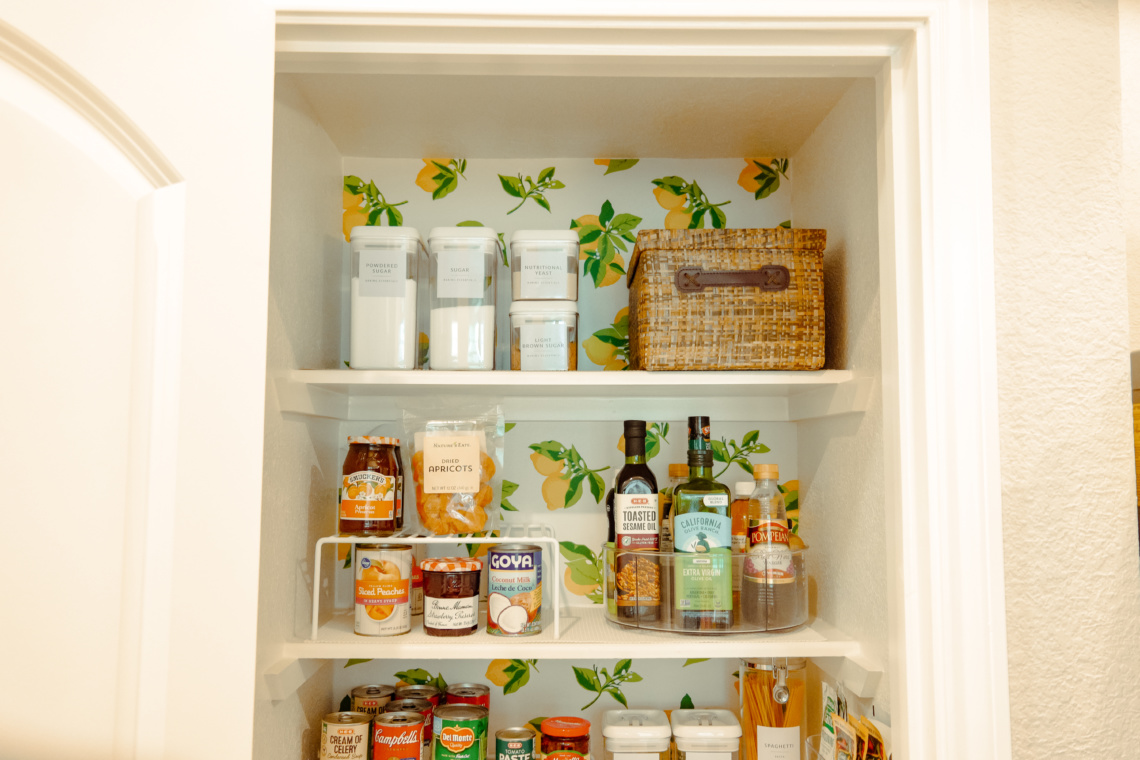
Install removable wallpaper with a large patter, like a lemon print, to bring in a touch of personality and color. When you get tired of the pattern, you can easily remove the wallpaper and update it over time. This is an inexpensive way to create a pop of color in your pantry.
Step Five: Organize and Label
Supply List: Clear canisters, rotating trays, storage bins, and labels
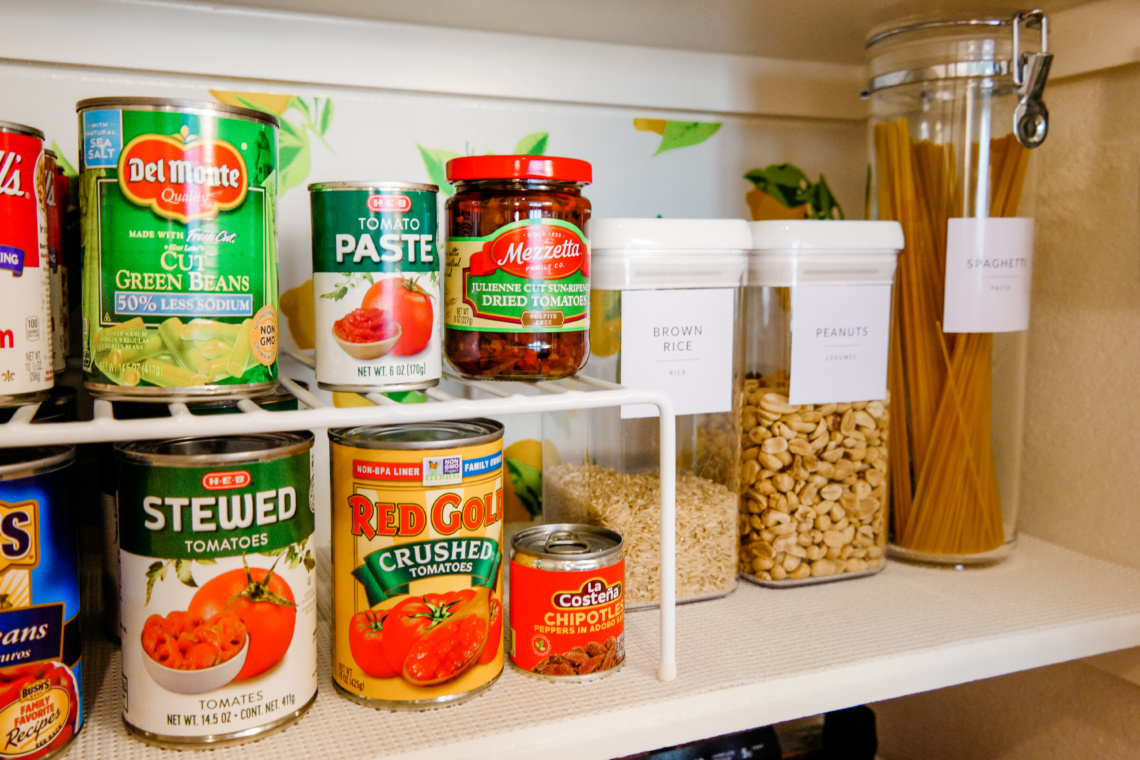
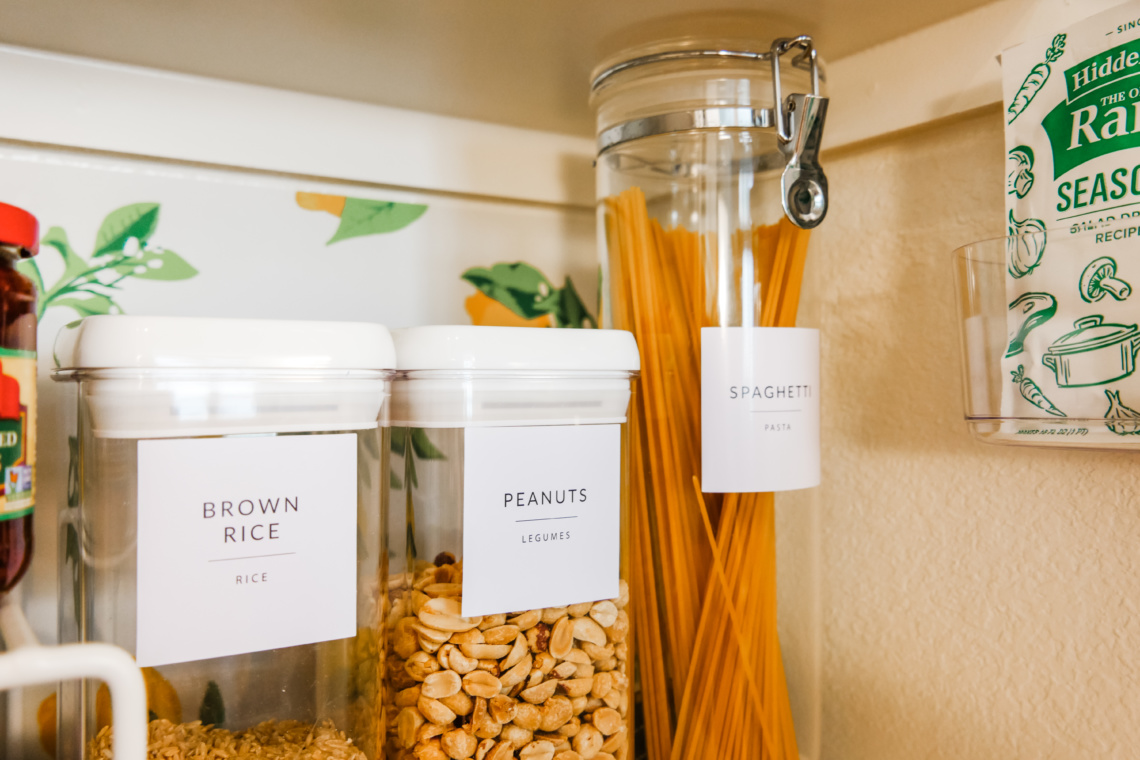
Eliminate bulky items by putting ingredients, such as cereal, pastas, and baking supplies: flour, sugar, and yeast, into airtight canisters. Other items that will help you to keep your pantry organized are shelf risers, “lazy Susan” divided rotating trays, open faced plastic storage bins. This is a good way to maximize space and create a beautiful clean and fresh aesthetic in your pantry. Finish your pantry organization by adding preprinted white labels to the outside of each canister. This helps to keep you organized when you are looking for items quickly in your pantry while cooking.
To maintain an organized pantry throughout the year, repeat steps one and two every few months to keep your pantry fresh and ready for creating delicious meals. This same organizational process can easily be implemented in other areas or your home, such as your refrigerator, under the kitchen sink or linen closets. Creating a system that works for you and your family is important and will help you to keep your home decluttered and organized.
 Jennifer Satterfield is the founder and editor for Growing Up Texas, a Southern lifestyle blog. Find design inspiration through Jennifer’s colorful stories and her travel adventures. A resident of the Brazos Valley for over twenty years, Jennifer is passionate about telling the stories of local residents and business owners and believes that the Brazos Valley is truly the best place to live! www.growinguptexas.com


